Setting Up and Running the
openVA Pipeline
Quick Demonstration
Once Python3, Java, R, and openVA have been installed on your computer, there are only a few steps needed to install and demonstrate the openVA Pipeline.
Start by opening a terminal and changing to the directory that will serve as the working directory for the openVA Pipline. The working directory for this example will be a folder called Pipeline located in the user’s home directory
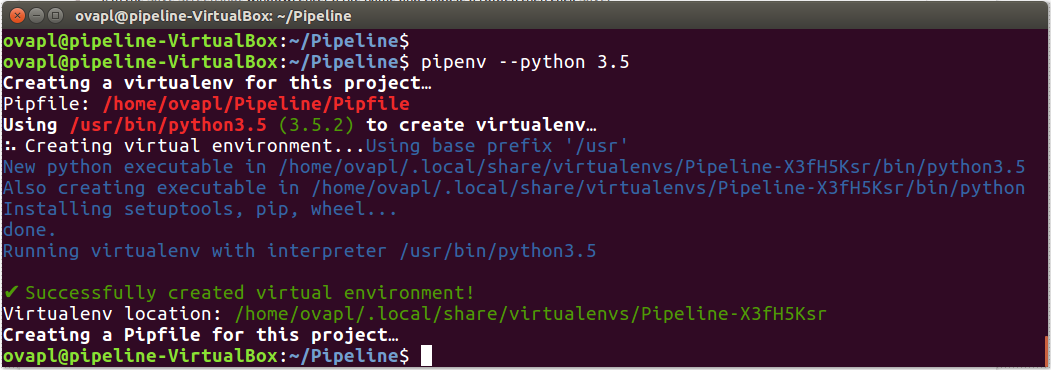
$ mkdir -p $HOME/Pipeline
$ cd $HOME/Pipeline
$ python3 -m venv venv
$ source venv/bin/activate
The last (recommended) step creates a virtual environment for the pipeline, which should look like the following screenshot
Use
pipto update some Python packages and install the openVA Pipeline package from PyPI$ pip install --upgrade pip $ pip install --upgrade setuptools $ pip install openva-pipeline
After this command, the output produced by Pipenv is shown in the following screenshot

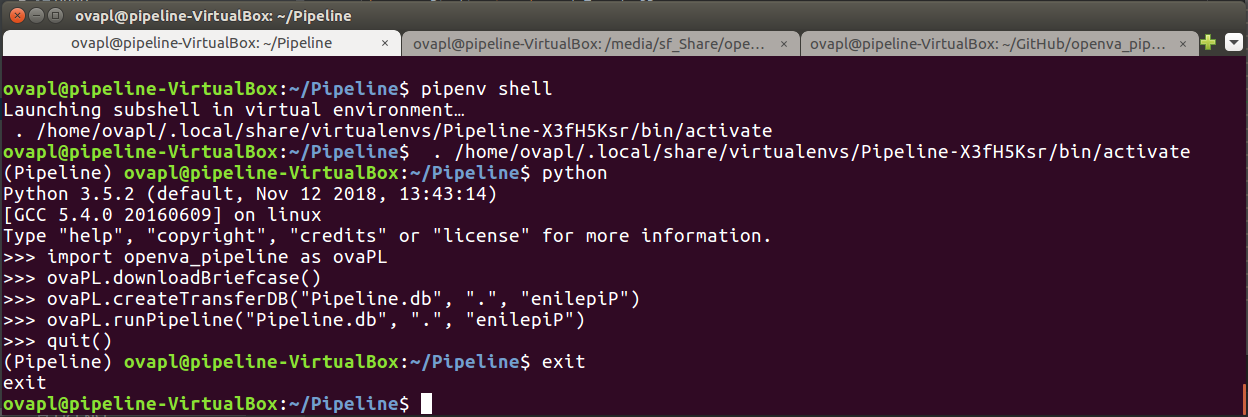
Start a Python session to load the openVA Pipeline package, create the Transfer database, and run the Pipeline. The final command exits out of Python.
$ python3(Python commands…)
>>> import openva_pipeline as ovapl
>>> ovapl.create_transfer_db("Pipeline.db", ".", "enilepiP")
>>> ovapl.run_pipeline("Pipeline.db", ".", "enilepiP")
>>> quit()
Exit the virtual environment with the command
deactivate. Here are a few more details about each Python command…import openva_pipeline as ovapl– load the openVA Pipeline package and use the shortcut name ovapl. To access the tools inside the openVA Pipeline package, use the nickname, followed by a., and then the name of the function or class.ovapl.create_transfer_db("Pipeline.db", ".", "enilepiP")– create the SQLite database that contains the configuration settings for the Pipeline, stores VA data and results, and includes an event/error log. The arguments are: (1) the name of the Transfer DB file (“Pipeline.db”); (2) the path to the directory where the DB file will be created; and (3) the key for encrypting the DB. The default settings point the Pipeline to an ODK Aggregate and DHIS2 server hosted by the SwissTPH.ovapl.run_pipeline("Pipeline.db", ".", "enilepiP")– run each step of the Pipeline: download records from ODK Central; run openVA to assign causes of death; store the results in the Transfer DB; and post the VA data and assigned causes of death to a DHIS2 server (with the VA Program installed). The arguments are (again): (1) the name of the Transfer DB file (“Pipeline.db”); (2) the path to the working directory for the Pipeline (the Transfer DB needs to be located in this directory); and (3) the key for encrypting the DB.Note
run_pipeline() has fourth parameter export_to_DHIS with a default argument of True. If you do not want to post VA events to DHIS2, then pass a value of False, i.e. export_to_DHIS = False.
quit()– exit out of Python.
A demonstration of these commands is shown in the following screenshot.
Once the
run_pipelinefunction has completed, we can check the results in several locations. First, let us take a look in the Pipeline’s working directory.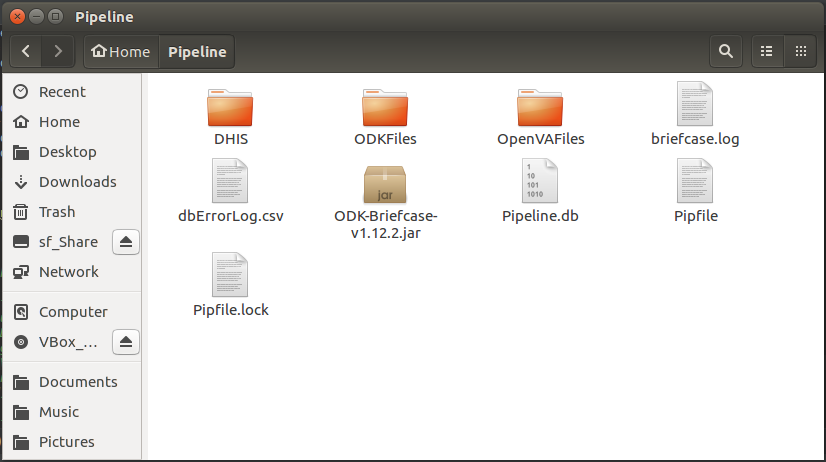
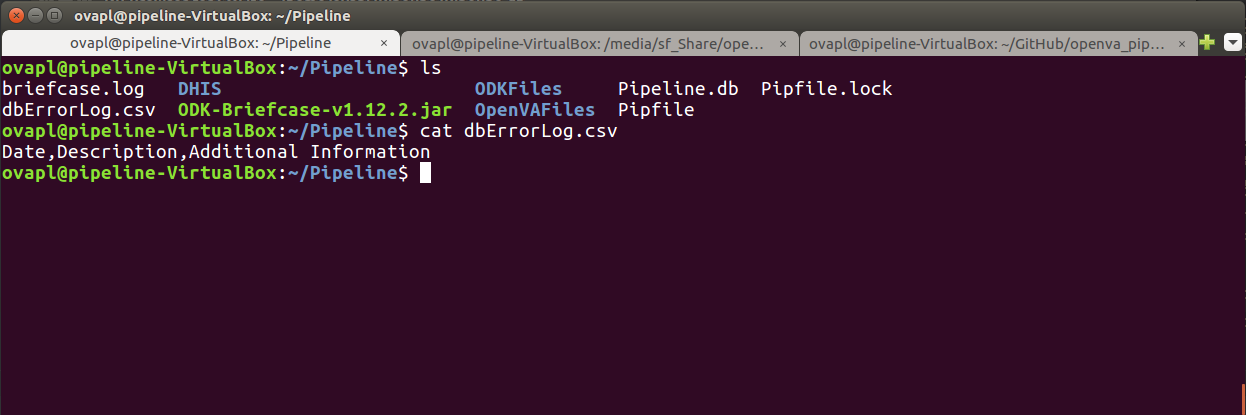
We can see folders where the files associated with the ODK Briefcase export and downloaded records (ODKFiles); the R script and log files from openVA (OpenVAFiles); and the files containing the VA events posted to the DHIS2 VA program (DHIS). The working directory also contains the ODK Briefcase jar file (and log file), the files generated by Pipenv (that keep track of the packages and dependencies for our virtual environment); and another file dbErrorLog.csv which contains error messages for the Pipeline when it is unable to connect to the Transfer Database. If we take a look at dbErrorLog.csv, we see it is blank and thus the Pipeline was able to connect to Pipeline.db.
Finally, if we look at the EventLog table in the Transfer database, we see that each step of the Pipeline was successfully completed (along with the date and time when it finished).

Working with APIs for each Step
Create & Configure the Transfer Database from Command Line
The configuration settings for the Pipeline are stored in an SQLite database referred to as the Transfer Database. The openva_pipeline Python package includes a function for creating the Transfer Database preloaded with default settings. The following will create the db in the current working directory.
>>> import openva_pipeline as ovapl
>>> ovapl.create_transfer_db(database_file_name="Pipeline.db", database_directory=".", database_key="enilepiP")
>>> quit()
In a terminal open the Transfer Database with SQLCipher as shown in the following example session:
$ sqlcipher Pipeline.db
sqlite> pragma key = "enilepiP";
ok
sqlite> .tables
Advanced_InSilicoVA_Conf    InterVA_Conf
Advanced_InterVA_Conf       ODK_Conf
Algorithm_Metadata_Options  Pipeline_Conf
COD_Codes_DHIS              SmartVA_Conf
DHIS_Conf                   SmartVA_Country
EventLog                    VA_Storage
InSilicoVA_Conf
Configure the ODK_Conf table to point to an ODK Central Server and use the appropriate user ID, password, form ID, and project number:
sqlite> .schema ODK_Conf
CREATE TABLE ODK_Conf
(
  odkID            char(50),
  odkURL           char(50),
  odkUser          char(50),
  odkPassword      char(50),
  odkFormID        char(50),
  odkLastRun       date,
  odkUseCentral    char(5) NOT NULL CHECK (odkUseCentral IN ("True", "False")),
  odkProjectNumber char(6)
);
sqlite> select * from ODK_Conf;
|https://odk.swisstph.ch/ODKAggregateOpenVa|odk_openva|openVA2018|va_who_v1_5_1|1900-01-01_00:00:01|False|40
sqlite> update ODK_Conf set odkURL="https://my.odkCentral.server", odkUser="myuserid@mail.com", odkPassword="Liverpool_FC!!!", odkFormID="who_2016_v1_5_3", odkUseCentral="True", odkProjectNumber="20";
sqlite> select * from ODK_Conf;
|https://my.odkCentral.server|myuserid@mail.com|Liverpool_FC!!!|who_2016_v1_5_3|1900-01-01_00:00:01|True|20
sqlite> .quit
You may also need to configure the Pipeline_Conf and DHIS_Conf tables (see openVA Configuration and DHIS2 Configuration for more details).
Pipeline Run Each Step of the Pipeline
Start a Python session, load the openVA Pipline package, and configure the Pipeline:
>>> import openva_pipeline as ovapl
>>> import os
>>> os.listdir()
['.Pipeline.db']
>>> pl = ovapl.Pipeline(dbFileName = "Pipeline.db", dbDirectory = ".", dbKey = "enilepiP", useDHIS = "True")
>>> pl.config()
Check configuration settings for ODK Central, download records, and check for CSV file with data.
>>> pl.run_odk()
>>> os.listdir('ODKFiles')
Check configuration settings for openVA, run openVA, check for output files.
>>> pl.run_openva()
>>> os.listdir('OpenVAFiles')
Check configuration settings for DHIS2, connect & upload results.
>>> pl.run_dhis()
>>> quit()